HOW TO: CREATE AN INSTANT OMBRE LOOK
10 EASY STEPS FOR THE PERFECT CLIP IN OMBRE LOOK
This video will show you how to correctly fit your hair extensions for an instant Ombre look!
To create this vibrant look, you will need:
- Butterfly clip
- Comb
- Hairspray
- Extensions (Lauren is using the Hair Rehab Luxe Volume Clip Ins 160g)
- Hairbrush
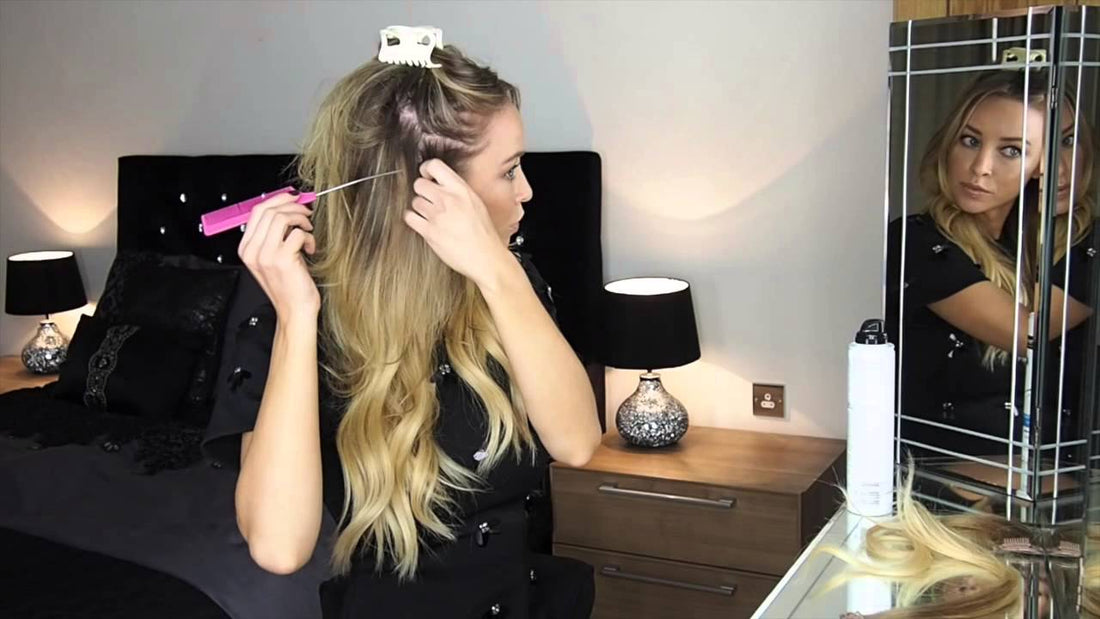
Step 1: Firstly use your ears as a guide and divide your hair with your fingers on the lower half of your head, clip the remaining upper section of hair up, you won’t need this right now!
Step 2: Use the comb to softly backcomb the root area you are going to clip the extensions in to; this will add extra bounce too! (When you are backcombing keep in mind you only have to backcomb where the clip will sit.)
Step 3: Push the clips firmly downwards into backcombed roots and clip them shut.
Step 4: Pull the top section of hair down, and create another layer around 1cm higher than the last section you clipped in.
Step 5: Clip the upper half of your hair up once again, and repeat steps 1-3 for however many layers you need to create your beautiful Balayage locks.
Step 6: Using the two small remaining side clips, fill in any sections of hair you think need blending in round the front. Lauren fits hers just above her ears.
Step 7: Brush all of your hair together, blending in the clip in hair with your own for a more subtle look.
Step 8: This step is optional, but Lauren is curling small sections of her own hair and the extensions to create a relaxed wavy look.
Step 9: Secret tip! Using a paddle brush, hold the ends of the extensions and run the brush upwards on your hair slightly. This creates extra width!
Step 10: Sprits with hair spray and you are ready to go!